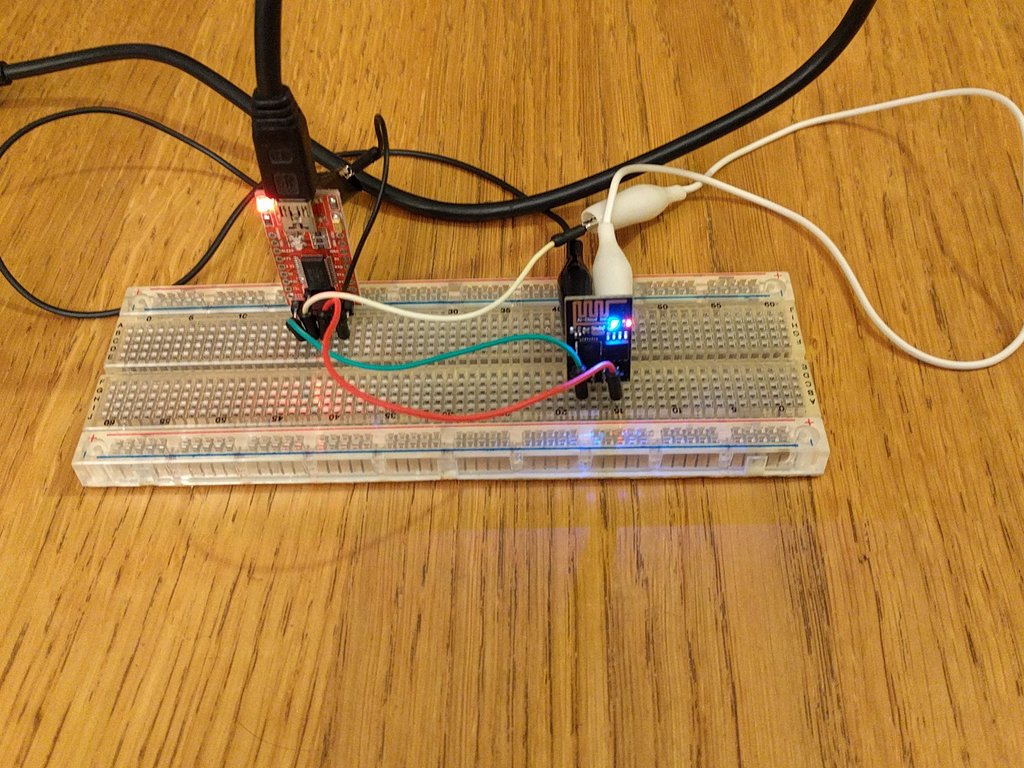
I first saw an ESP8266 board at OggCamp as part of a central heating control project. Recently, I’ve been researching a project for CodeClub that needs to control devices remotely over some kind of radio link and so I thought it was time to get to grips with these devices.
They turned up in the post with absolutely no documentation whatsoever. A quick search with Google images hinted at a pinout, and so I tentatively applied 3.3 volts (from an Arduino Uno) to what should be Vcc and GND and was reassured by an LED lighting up on the board.
I then realised that I didn’t have a 3.3V serial I/O device to attach the ESP8266 to a computer for programming. The Arduino UNO has a serial interface, but it’s at 5 volt logic levels. I ordered a USB to serial board based on the FTDI chip, and waited…
Finally I was all set. FTDI interface attached to laptop, and with the help of some crocodile clips and breadboard, I had everything hooked up.
Nothing worked.
Hmm. After half an hour of checking connections and fiddling with baud rates in the serial console, I finally realised that there is a pin labelled ‘CH_PD’ which needs pulling up to Vcc to bring the chip out of a powered down state!
I had blinky lights and setting the baud rate to 115200 produced readable text from the ESP8266 on my screen. Yay! Sadly, I couldn’t get the device to accept any commands until I realised that it needs both a carriage return and a linefeed character after each instruction.
So now I had success in that my laptop was talking to the ESP8266, and that it was talking back. The next step was to replace the stock firmware (which is based on the old Haynes AT commands for modems) with something more flexible.
I opted to use the Arduino IDE, as I’m already familiar with the C style code it uses. Adding the ESP8266 using the IDE’s board manager, and pasting in this url: http://arduino.esp8266.com/stable/package_esp8266com_index.json was pretty easy. Great work, community!
Finally, I found a nice piece of example code which I copied and pasted. I edited the WiFi config details, and also changed the GPIO pin number (as my ESP8266 only has two!) and then compiled and uploaded. You have to ground GPIO 0 pin when applying power to ESP8266 to get it ready to accept new firmware. This worked first time. Yay!
So, taking my phone and sticking in the IP address which the ESP8266 had been assigned (by DHCP) produced a simple web page with an ‘on’ and ‘off’ button. I attached an LED and resistor to the GPIO pin on the ESP8266 and felt a great sense of achievement as I was able to turn this on using the menu on my phone. I also checked from a browser on my laptop which worked well too.
So, concept proved. I really like the ESP8266. Cheap, easy to program and with enough power to be totally self-contained for small Internet of Things projects.
